Building a target
Target Base VMs
One method we used for rapid deployment of targets was to use generic VMs that reflect vulnerable operating system versions. Ansible in conjunction with a vulnerable software repository running on a COURSE-WAN web server is then used to place a full clone of the Base OS VM in a vulnerable state. This includes writing out user flags, creating users and installing software. This also allows a target refresh a couple times a year where at least the passwords, usernames and flags are updated.
Building a Target Base Image
Target Base VMs are exactly the same as RangeControl Base VMs with the following enhancements
- You need a deployer user and either a password or SSH Key
- SSH services need to run on boot (on Windows too). SSH works great for Windows and Ansible and is far easier to setup than WinRM.
The CentOS 6.7 Base VM
The following version of CentOS has a few privilege escalation vulnerabilities as well as a shocking bash vulnerability. Pull this down and create a Base VM making sure to add a sudo deployer user with a very hard to guess password. Alternatively you can add a ssh public key where you have the private component on your deployment system. Here are some notes on how to prepare CentOS 6.x for cloning. This version of CentOS has a version of Python that is not supported by modern versions of ansible, so the instructions have you add another newer interpreter.
Building the Vulnerable Target with Ansible
Once we have a Base Target, we can create full clone of the Base and then automate the generation of the exploit condition. Generally speaking we will prepare the target on the ETHHACK-WAN and then move it to whatever network it is assigned. This allows us to pull down packages from the Internet or from a ETHHACK-WAN based web server. For purpose of building the exploit, the clone was dropped in the COURSES_VM folder. Take a powered off snapshot called "Before Ansible"
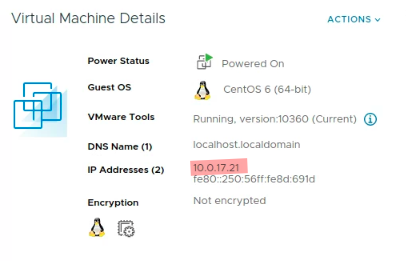
If you do things right, your target under development should get a DHCP IP address from ETHHACK-WAN

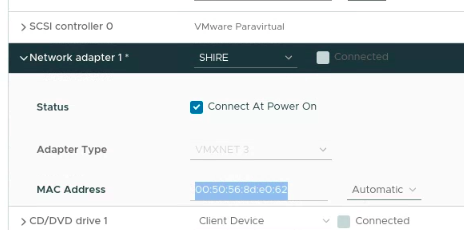
This DHCP address is the IP you use in your ansible inventory, take note of the MAC Address as well because we will be using it later in a DHCP reservation on SHIRE. It is easiest to run target ansible scripts from a system already on ETHHACK-WAN such as the instructor's kali machine. Note, cupcake has an old version of SSH on it and your ansible controller may need to have an updated ~/.ssh/config
HostkeyAlgorithms +ssh-rsa
PubkeyAcceptedAlgorithms +ssh-rsa
Ansible Inventory for Cupcake
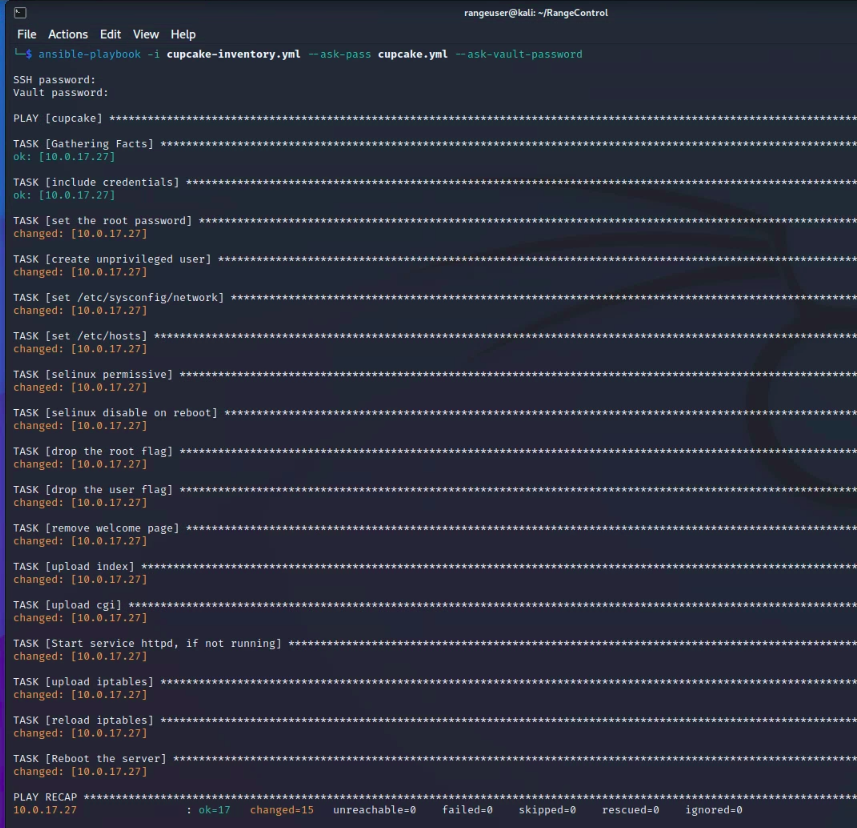
Ansible Playbook for Cupcake
Note, ansible vault should likely be used just to keep your target credentials and flags under wraps. You should consider whether or not you even store them in version control.
Sample Run

Once you've tested the exploit its entirety and believe it suitable to deploy
- Poweroff
- Delete Previous Snapshots
- Change your Virtual Network to the desired Network (SHIRE in this case)
- Take a new shapshot called Exploit Ready
SHIRE DHCP Reservation
Creating a DHCP reserveration is pretty straight forward. Get the MAC address and desired IP address for your target. Here's an example

IP: 10.0.5.23 (SHIRE)
MAC: 00:50:56:8d:e0:62
on fw-shire, issue the following commands
configure
set service dhcp-server shared-network-name DHCPPOOL subnet 10.0.5.0/24 static-mapping cupcake ip-address 10.0.5.23
set service dhcp-server shared-network-name DHCPPOOL subnet 10.0.5.0/24 static-mapping cupcake mac-address 00:50:56:8d:e0:62
commit
save
Target Ready

At this point the target is deployed, but we need to prevent users in this course from having full interactive access to the target consoles in vCenter. We will do this via a combination of Active Directory Security Groups and vCenter Roles.